The first file you should transfer from ScoutBookPlus™ is the Roster Report. It contains information about each scout and each adult in your troop.
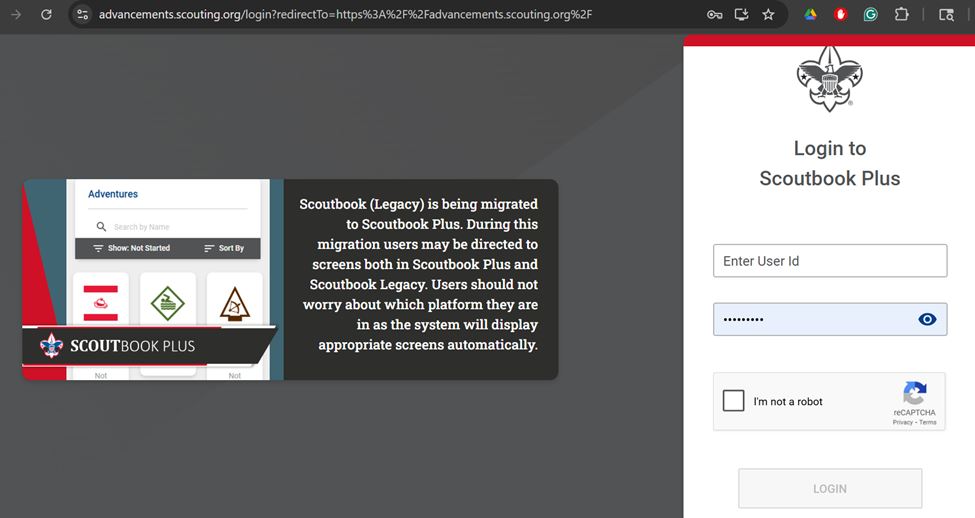
To generate the Roster Report, sign into ScoutbookPlus.
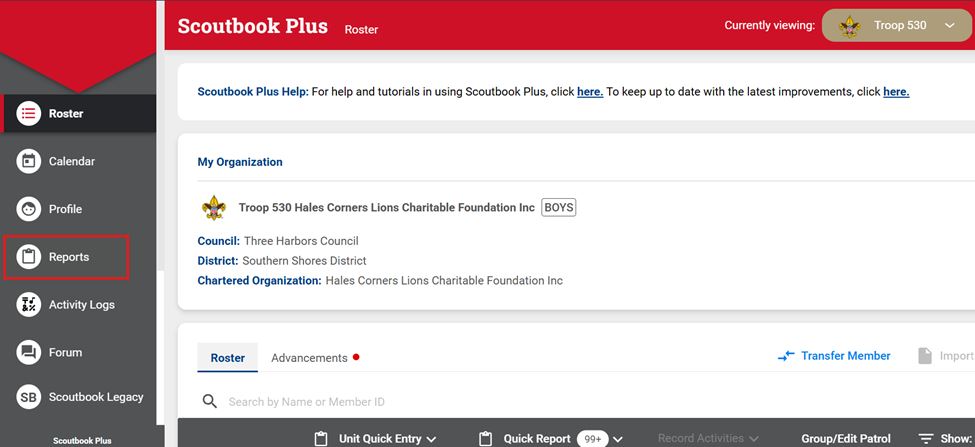
Select Reports from the Navigation menu on the left side of the sceen.
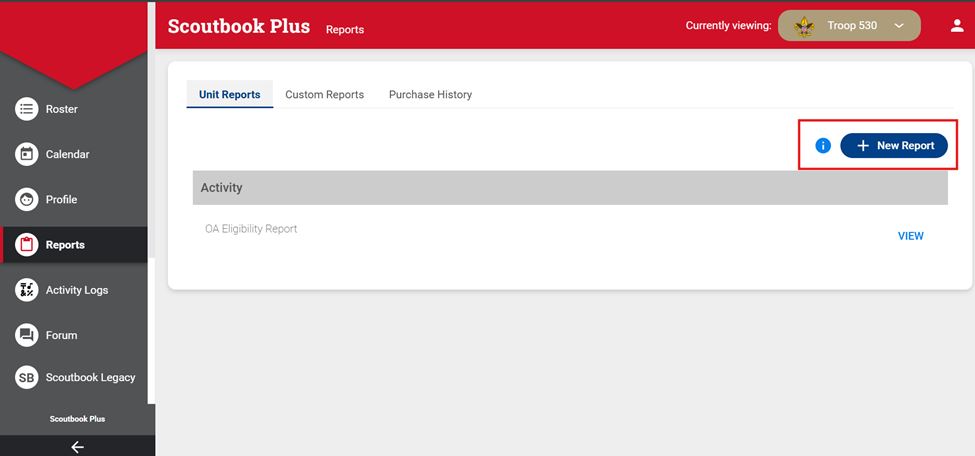
Click “+ New Report”
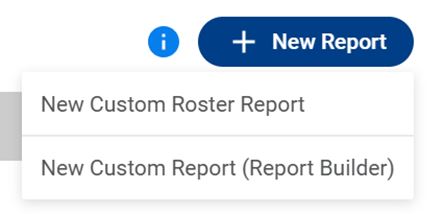
Click New Custom Roster Report.
In the next page, enter a Report Title such as “Member Export”. Select the desired options then click Run
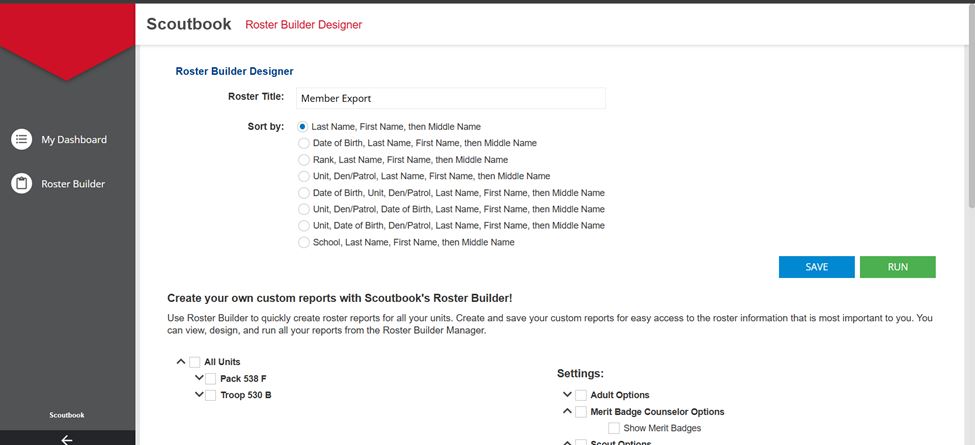
Under "All Units" (if you are affiliated with more than one unit), select the one unit for which you wish to export data. Under "Settings", select all options.
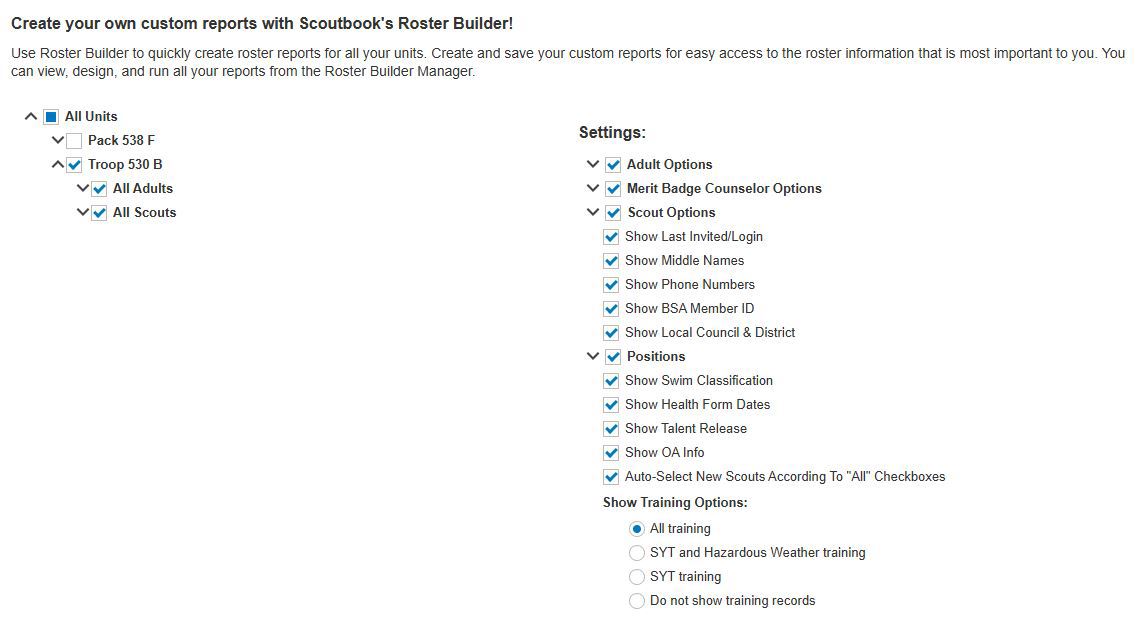
Click the CSV button
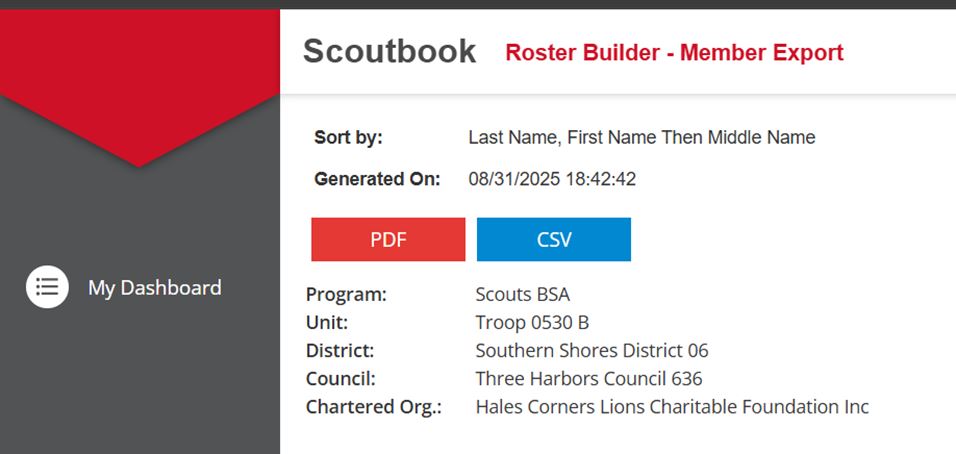
This will create a CSV file. Save it to your local drive and remember the location and file name.
Then log on to TroopWebHost, and from the Main Menu go to Membership → Upload Members → Upload ScoutBookPlus Roster Report.
You should see the screen shown here:
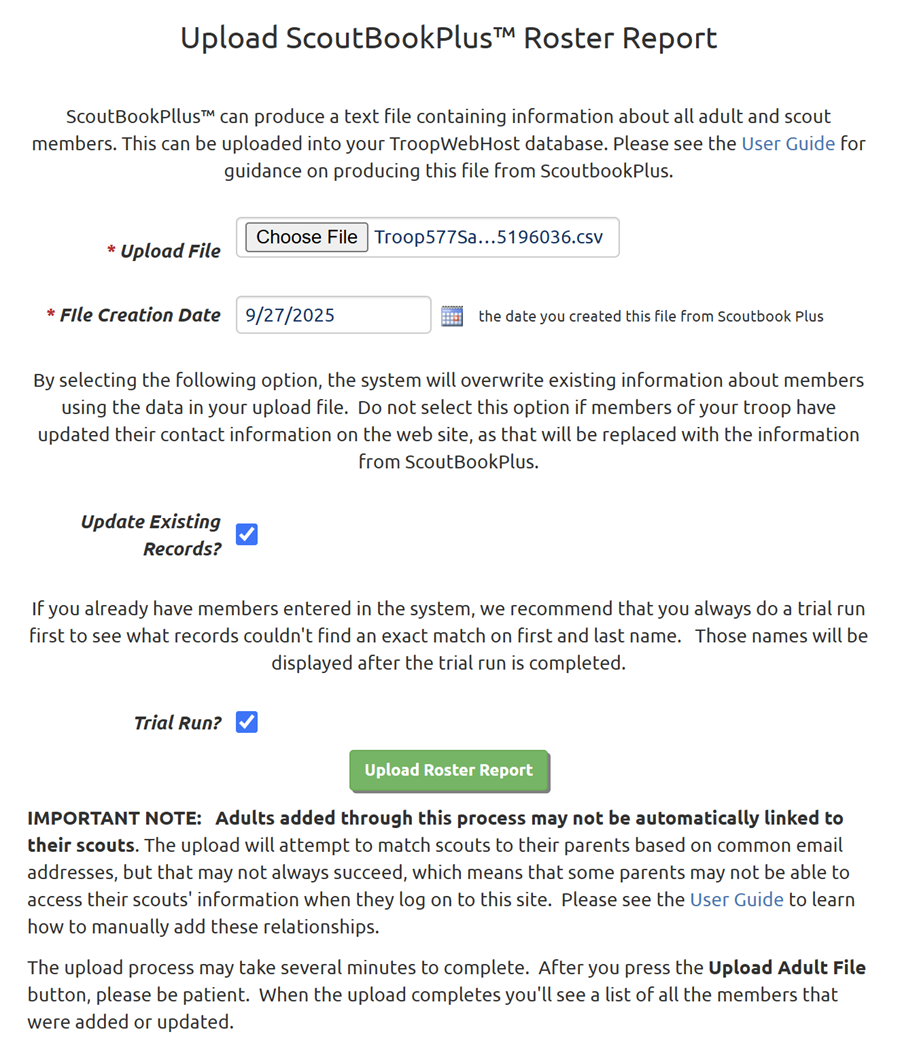
Click the Browse button to find the Roster Report file that you exported from ScoutBookPlus™.
The File Creation Date is the date you created this file from Scoutbook Plus. You may be able to find this date within the file name that Scoutbook Plus generated. We need to know this date to compute the start date for leadership positions. Instead of showing the start date of each position, the file shows the length of time that the person has held that position, using a notation that looks like this: (2y 4m 23d). Presumably this is based on the current date when the file was generated.
Do not select Update Existing Records if you think your membership data in TroopWebHost is accurate and up-to-date. It will overwrite the contact information and other data about existing members with the information found in the file.
Always select the Trial Run option the first time you upload a new file. This will allow you to see what records will be added, without actually committing these new records to the database. This is a great way to prevent duplicate membership records from being added to your system. This can happen if we fail to find a match on the person's BSA ID or the exact spelling of their first and last name (plus date of birth for scouts.) If you do see names being added that are already in the system, update their membership records to match the information in the file and upload the file again in trial run mode. Once all of the duplicates have been removed, you can run it one more time without the Trial Run enabled.
Click the Upload Roster Report button to begin loading this data into TroopWebHost.
This will add each scout who was not already in the system to the Active Scouts page. It will add each adult who was not already in the system to the Active Adults page.
It will also create a User ID and Password for each scout and each adult that it added.
It will create relationships between the scout and his parents, using the parent name columns in the scout entry. It can also match scouts to parents based on matching email addresses.
For adults, it will attempt to load their leadership positions.